
How to Start Blinkit Ads: Step-by-Step Guide for Brands
A practical step-by-step guide to launching Blinkit ads: seller onboarding, ad formats, budgets, metrics, and optimisation tips for Indian brands entering quick commerce.
Blinkit has crossed the threshold from novelty to infrastructure. In India's top cities, the app is a daily habit, and the brands showing up inside it at the moment of purchase intent are winning shelf space that traditional trade takes months to build.
This guide is for brands that have decided to enter Blinkit and want to do it right. Not an overview of why quick commerce matters. A practical, sequenced guide to getting live, running ads, and optimising them.
Who Can Advertise on Blinkit, and What You Need Before You Start
You cannot run Blinkit ads without first being a listed seller. The two processes run together, there is no advertising-only entry point.
Documents required for seller onboarding:
GST registration (15-digit GSTIN, must match all documents exactly)
Registered business entity (Private Limited, LLP, OPC, or sole proprietorship)
Business bank account (cancelled cheque or bank passbook)
FSSAI license if your products are food, beverages, or groceries
There is a listing fee of Rs 25,000 per product per state. Blinkit credits this back to your ad wallet, so it effectively becomes your opening ad budget.
Categories that perform best on Blinkit: FMCG, groceries, snacks and beverages, personal care, household essentials, pet care. High-frequency, repeat-purchase products. If your product is something people buy multiple times a month and need delivered fast, Blinkit is the right channel.
Eligibility requirements can shift based on Blinkit's onboarding process and your category. Verify current requirements at seller.blinkit.com before applying.
Step 1: Complete Business Onboarding on Blinkit
Submit your GST, PAN, bank details, and business information through Blinkit's seller portal. Add product and brand details for review. Approval typically takes a few days.
If you have a specific launch window in mind, a festive campaign, a new product launch, start onboarding at least two to three weeks ahead. Rushing the approval process is the most common reason brands miss their intended launch date.
Step 2: Add and Optimise Your Product Listings Before Touching Ads
Your listings are the conversion layer. Ads bring traffic. Listings close the sale. Every product listing needs:
A clear, searchable product name matching how people actually search on the platform
Bright, front-facing pack shot on a plain background, readable at mobile screen size
MRP and offer price clearly displayed
Accurate stock levels updated before going live
One rule before activating any campaign: do not run ads on a listing with low inventory. Blinkit suppresses ad visibility when stock runs low, and running out mid-campaign damages your seller metrics. Ensure robust stock before any campaign launches.
Step 3: Load Your Ad Wallet and Choose Your Opening Campaign Structure
Add funds to your Blinkit ad wallet. Most brands testing for the first time start with Rs 25,000 to Rs 50,000 to get enough data to make decisions. Starting below Rs 15,000 typically does not generate sufficient volume to optimise from.
For your first campaign, the right structure is narrow: Pick 3 to 5 hero SKUs, your bestsellers or the products with the strongest margins. Do not spread budget across your entire catalogue in the first run. Validate which products move, then expand.
Step 4: Understand the Ad Formats and When to Use Each
Blinkit offers multiple ad formats. The right one depends on your campaign objective, not preference.
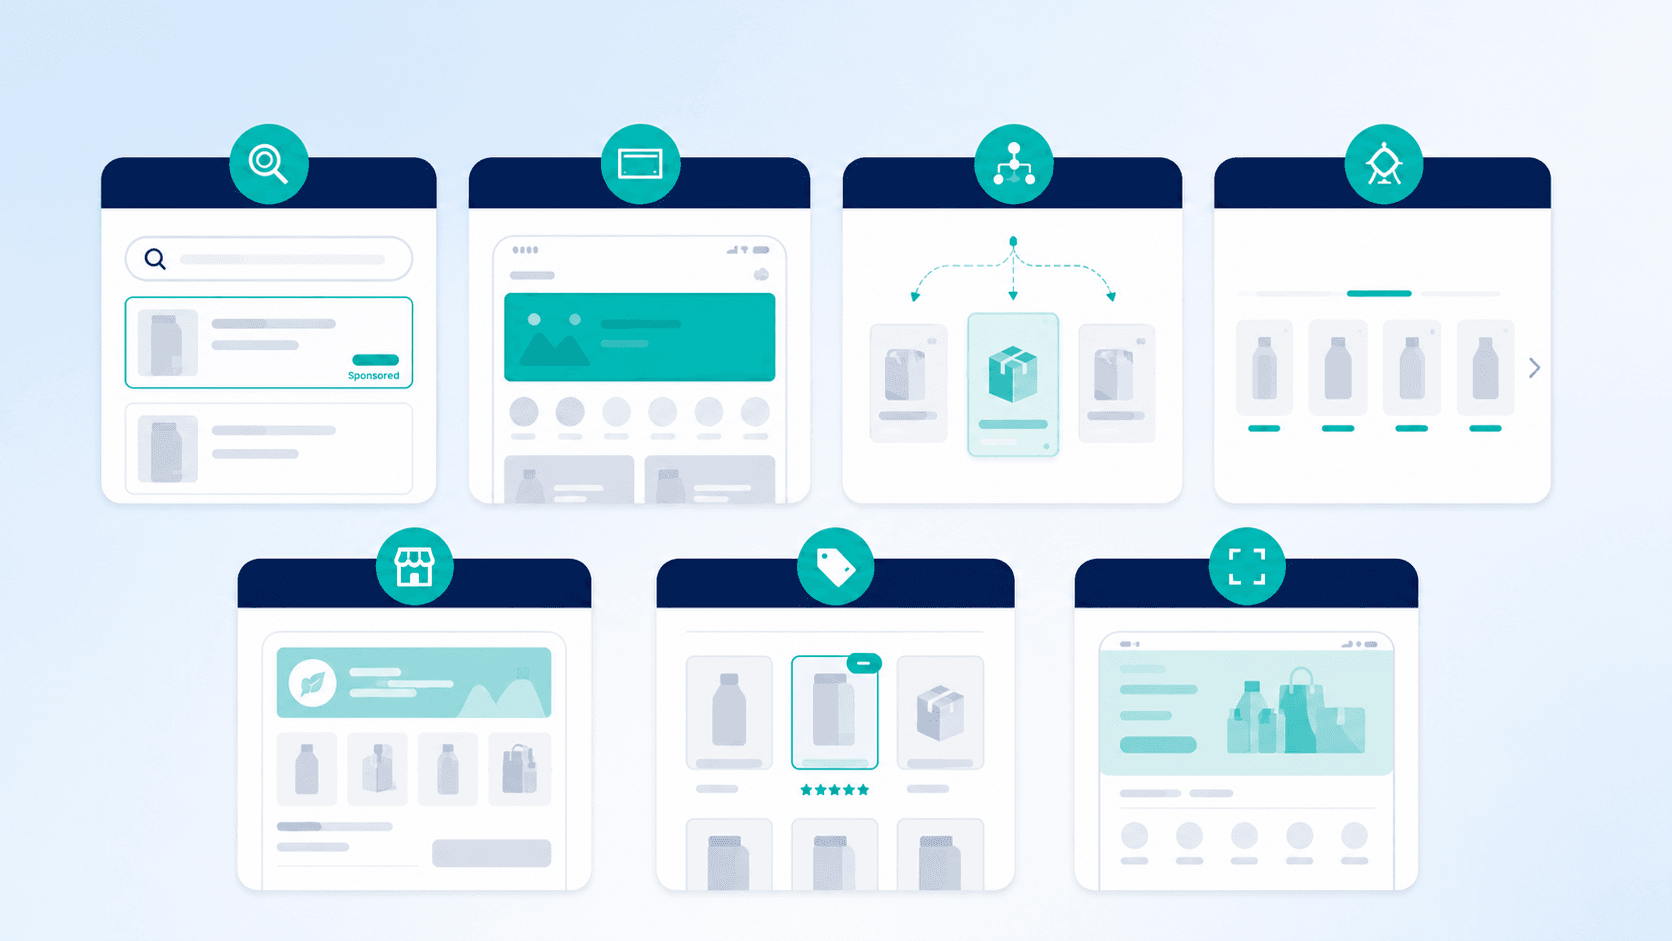
Product Booster
Blinkit's sponsored search ad. Your products appear at the top of search results marked as sponsored. Pay-per-click model.
This is your primary sales driver, allocate 80 to 90% of your opening budget here. It catches shoppers with active purchase intent: someone searching "chips" or "shampoo" sees your product first.
CPC range: Rs 2 to Rs 15 depending on category competitiveness. Start here and validate before moving to other formats.
Prime Banner
A large banner at the top of Blinkit's home screen. The first thing shoppers see when they open the app. Use this for new product launches, festive campaigns, or when you want broad reach fast.
Starting budget: Rs 5,000 to Rs 10,000. Not a conversion-first format; use it to build awareness and recognition during high-traffic windows.
Recommendation Ads
Algorithm-driven placements. Blinkit's system places your products in front of shoppers based on their browsing and purchase history, home feed, cart pages, repeat-buy sections.
You do not pick keywords; the platform does the matching. Use this after validating Product Booster. Best for complementary products (chips + drinks, coffee + filters) and repeat-purchase categories.
Brand Spotlight
A scrollable carousel showing multiple products from your brand. Appears in home feed and category pages.
Use this once you have 3 to 5 performing products and want to increase brand presence and average order value. Shoppers who see multiple products from your brand in one unit are more likely to add 2 to 3 items.
Brand Store
A dedicated page inside Blinkit with your brand name, logo, and full product range organised by category.
Only worth activating once you have 10 or more SKUs live. Works best for established D2C brands with multiple product lines. Acts as a brand authority signal, shoppers see an organised catalogue and are more likely to trust and buy.
Listing Spotlight
A mini-storefront that makes your product listing visually prominent on search and category pages, taking up more real estate than a standard listing.
Use in highly competitive categories (personal care, groceries, snacks) where standard listings get lost. Best for products with 4+ star ratings, competitive pricing, or new launch momentum.
Category Page Takeover
Your brand takes over an entire category landing page. Premium placement, premium budget.
Use only for major moments, large seasonal campaigns, significant product launches, or limited partnerships. Not a format for ongoing campaigns.
Step 5: Match Your Campaign Objective to the Right Format
Now that you understand what each format does, here is how to match them to what you are actually trying to achieve.
Your Goal | Best Format | Why |
Launching a new product | Product Booster + Prime Banner | Booster captures active searchers; Banner builds awareness |
Driving sales for existing SKUs | Product Booster | Direct path to purchase, measurable ROAS |
Building brand awareness | Prime Banner + Brand Spotlight | Broad reach, multiple products visible at once |
Seasonal and festive campaigns | Product Booster + Category Takeover | Capture urgent demand, dominate the category during peak |
Driving repeat purchases | Recommendation Ads | Algorithm finds repeat buyers automatically |
Increasing average order value | Recommendation Ads + Brand Spotlight | Cross-sell adjacent products, encourage catalogue browse |
Expanding product range visibility | Brand Store + Brand Spotlight | Show customers your full catalogue, build discovery |
Step 6: Set Budgets, Launch, and Track the Right Metrics
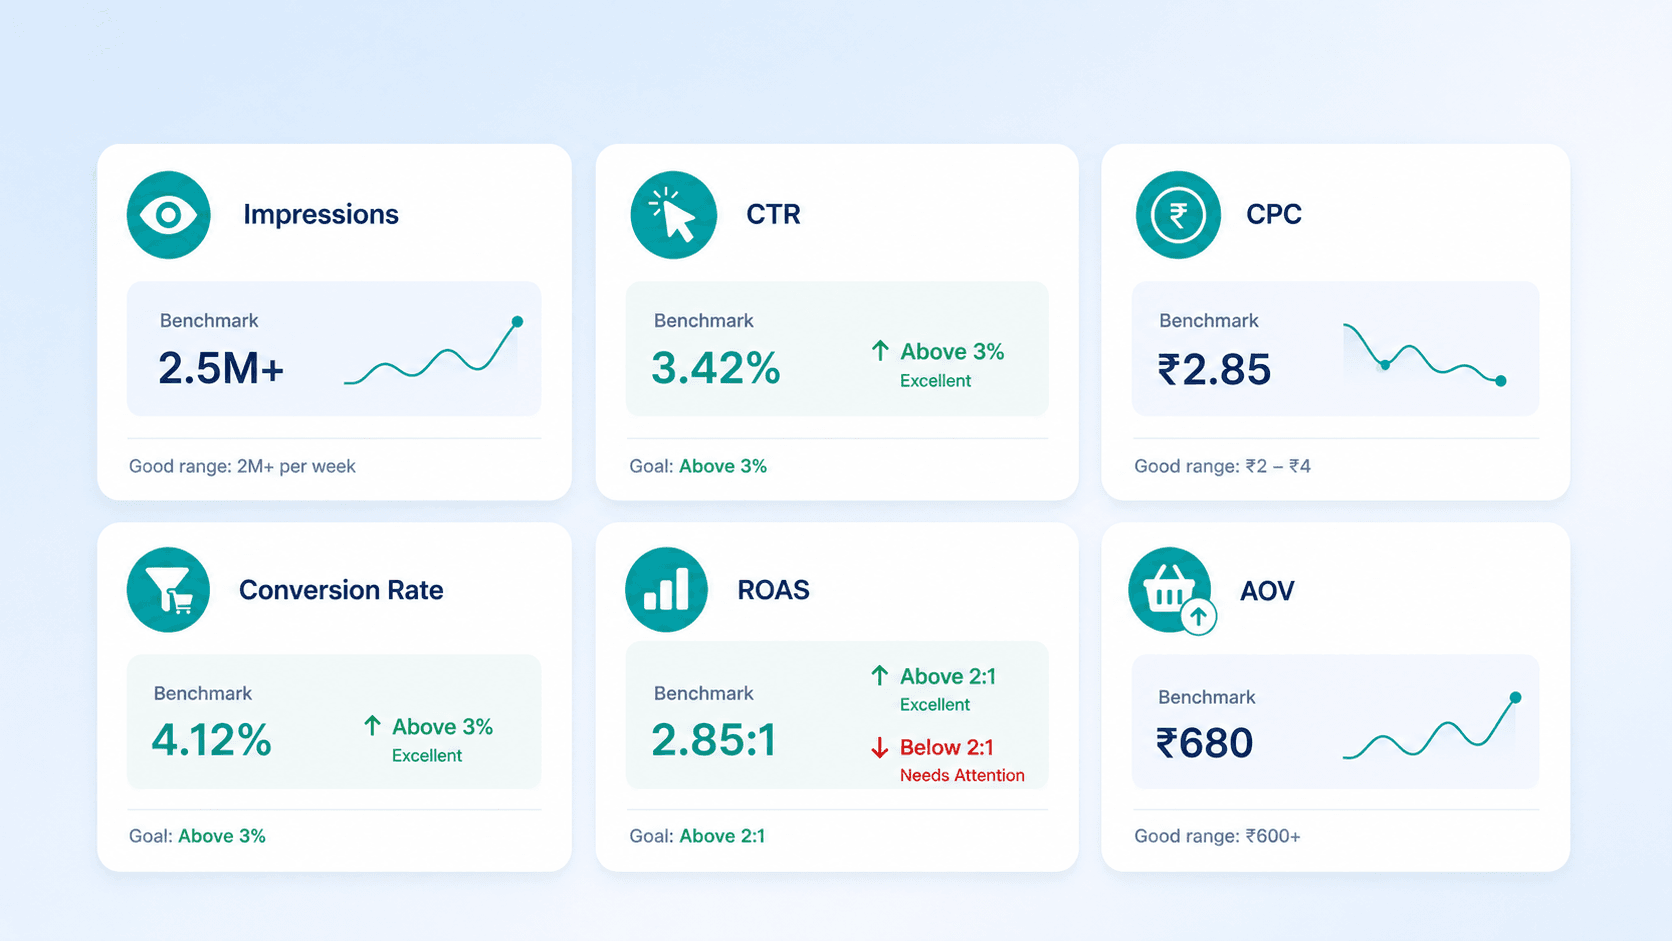
Set your campaign dates and daily or total budget. Go live. Then watch these numbers weekly, not monthly.
Impressions: How many times your ad appeared. High impressions with low CTR means your creative or offer needs work.
CTR (Click-Through Rate): Percentage of people who saw your ad and clicked. Above 2 to 3% is healthy. Dropping CTR is a signal to refresh creative or sharpen the offer.
CPC (Cost Per Click): How much you pay per click. Rising CPC signals increasing competition in your category.
Conversion Rate: Percentage of clicks that became purchases. This is where listing quality shows, if traffic is coming but not converting, the listing needs work, not the ad.
ROAS (Return on Ad Spend): Revenue generated per rupee of ad spend. Stay above 2:1 to remain profitable. If ROAS falls below 2:1, pause and diagnose before increasing spend.
AOV (Average Order Value): Average spend per transaction. Rising AOV while maintaining ROAS means growth is compounding correctly.
Step 7: Optimise Weekly: This Is Where the Real Work Happens
Blinkit ads are not a set-and-forget channel. The brands that build consistent presence on the platform treat optimisation as a weekly optimisation habit, not a monthly review.
The weekly optimisation loop:
Pull performance data, identify which products, cities, and time windows are converting
Shift budget toward top performers, reduce or pause weak SKUs
Check inventory levels and restock before any product runs low
Test one small change- a new image, a different offer, an adjusted bid per week
Refresh creatives every 3 to 4 weeks to prevent CTR decay
Best practices that move the needle:
Use offer-driven creatives; Blinkit shoppers actively look for deals. "Buy 1 Get 1", "Flat 15% off", or bundle pricing in clear, simple text on your banners consistently outperform product-only creative.
Lead with keywords that match actual search behaviour, generic category terms ("chips", "hair oil", "cat food") plus your brand terms. Match your product titles to how shoppers search, not how your brand refers to the product internally.
Plan seasonal campaigns in advance: Diwali, Holi, IPL, summer peaks. Snacks, sweets, drinks, and home care all see demand spikes at these windows. Campaign setup should happen at least one week before the event, not during it.
Blinkit vs Zepto vs Instamart: Should You Be on All Three?
Blinkit's advertising platform is the most developed of the three for brand advertisers, with the broadest city coverage in premium urban markets backed by Zomato's infrastructure.
Zepto has a strong presence in select urban clusters and a growing advertiser base.
Instamart operates within the Swiggy ecosystem and tends to have broader reach in South Indian markets.
The practical approach:
Launch on Blinkit first to validate product-market fit, which SKUs move, at what price point, in which cities. Once you have ROAS and conversion benchmarks from Blinkit, use those as the baseline to evaluate whether Zepto or Instamart warrant the additional operational investment.
Running all three quick commerce platforms simultaneously without validated benchmarks from one dilutes your learning and stretches your team's optimization bandwidth.
Common Mistakes That Stall Blinkit Ad Performance
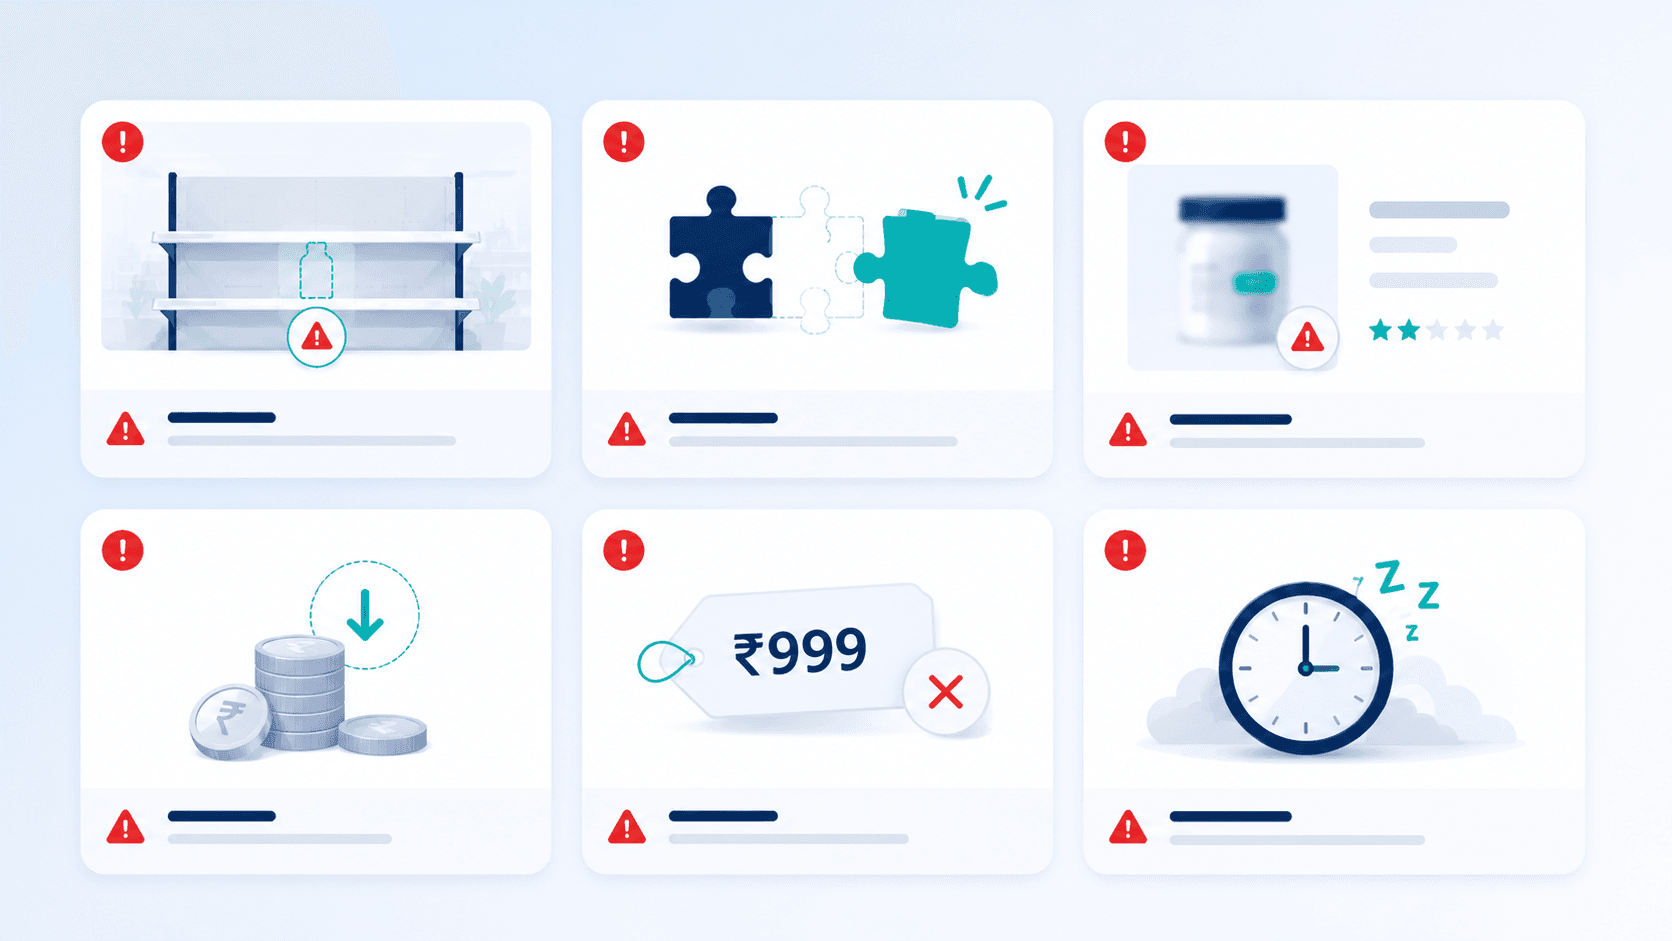
Launching ads before inventory is ready. Blinkit suppresses ad visibility when stock runs low. A campaign that starts well and then hits an out-of-stock situation damages your seller rating and resets your visibility momentum.
Choosing ad formats before choosing objectives. Format selection should follow goal definition. Running display ads when you need direct sales, or running search ads when you need awareness, both waste budget.
Running ads on unoptimised listings. Ads bring the click. A weak listing, poor images, vague description, no competitive pricing, loses the conversion. Fix the listing before activating spend.
Setting unrealistic test budgets. Below Rs 15,000 to Rs 25,000 you will not generate enough data to make informed decisions. Starting too small and seeing inconclusive results leads to premature conclusions about the channel.
Not running offers in competitive categories. Full-price ads in high-competition categories on Blinkit underperform against competitors running bundle deals and percentage discounts. A modest offer can lift conversion rate from 2% to 5%.
Ready to Launch on Blinkit?
Pinnacle Growth Consulting's Quick Commerce Onboarding Consultation covers category fit assessment, opening campaign architecture, budget planning, and listing optimisation — so your first Blinkit campaign is built to return data worth acting on, not just spend worth measuring.
Book a Quick Commerce Onboarding Consultation
Frequently Asked Questions
To run Blinkit ads, you first need to complete seller onboarding on seller.blinkit.com by submitting your GST registration, business entity documents, bank account details, and FSSAI license, if applicable. Once approved and products are listed, you load your ad wallet, choose your campaign format (Product Booster for direct sales is the recommended starting point), select categories and locations, set a daily or total budget, and go live. Pinnacle Growth Consulting's Quick Commerce Onboarding Consultation covers this setup end to end for brands that want guided entry.
Most brands start with ad wallets in the Rs 25,000 to Rs 50,000 range for an initial test. There is also a listing fee of Rs 25,000 per product per state, which Blinkit credits back to your ad wallet. CPC for Product Booster typically ranges from Rs 2 to Rs 15 depending on category and competition level. Starting below Rs 15,000 in total test budget generally does not generate enough data to make informed optimisation decisions
Product Booster is the primary sales driver for most brands, it places your product at the top of search results on a pay-per-click model and captures shoppers with active purchase intent. Allocate 80 to 90% of your opening budget here for the first three months. Other formats like Prime Banner and Brand Spotlight work better for awareness and brand building once you have validated which SKUs perform.
Blinkit works best for high-frequency, repeat-purchase products in categories like snacks and packaged foods, beverages, personal care, household essentials, and pet care. Products that people buy multiple times a month and need delivered quickly are natural fits. Niche products, high-ticket items, and categories without frequent repurchase cycles typically see weaker ROAS on quick commerce platforms.
The five metrics that matter most are CTR (above 2 to 3% is healthy), conversion rate (what percentage of clicks became purchases), ROAS (stay above 2:1 to remain profitable), CPC (tracks bid efficiency and category competition), and AOV (average order value, which indicates basket growth). Check these weekly, not monthly. If ROAS drops below 2:1, pause and diagnose before increasing spend.
The practical approach is to launch on Blinkit first, validate which SKUs move and at what ROAS, and use those benchmarks to decide whether Zepto or Instamart warrant additional investment. Running all three simultaneously without validated benchmarks dilutes your learning and stretches optimisation bandwidth. Blinkit's advertising platform is currently the most developed of the three for brand advertisers.